The Best Fluffy Pancakes recipe you will fall in love with. Full of tips and tricks to help you make the best pancakes.
Let me guess. You’ve done it before.
You’re standing over the stove, lid barely cracked, peeking at the rice like it’s going to give you some kind of sign. And then you open it too early, stir it when you shouldn’t have, or walk away for five minutes too long — and suddenly you’ve got a pot of something that looks nothing like the fluffy, perfectly separated grains you were imagining.
Maybe it came out mushy and clumped together. Maybe the bottom burned while the top stayed crunchy. Or maybe — the most baffling outcome of all — it somehow managed to be both undercooked and soggy at the same time.
If any of that sounds familiar, you’re in very good company. Rice is one of those things that looks simple in theory and trips up even experienced home cooks in practice. And honestly? The frustration makes sense, because most people were never actually taught how to cook perfect rice. They were just told to “follow the package instructions” and left to figure out the rest on their own.
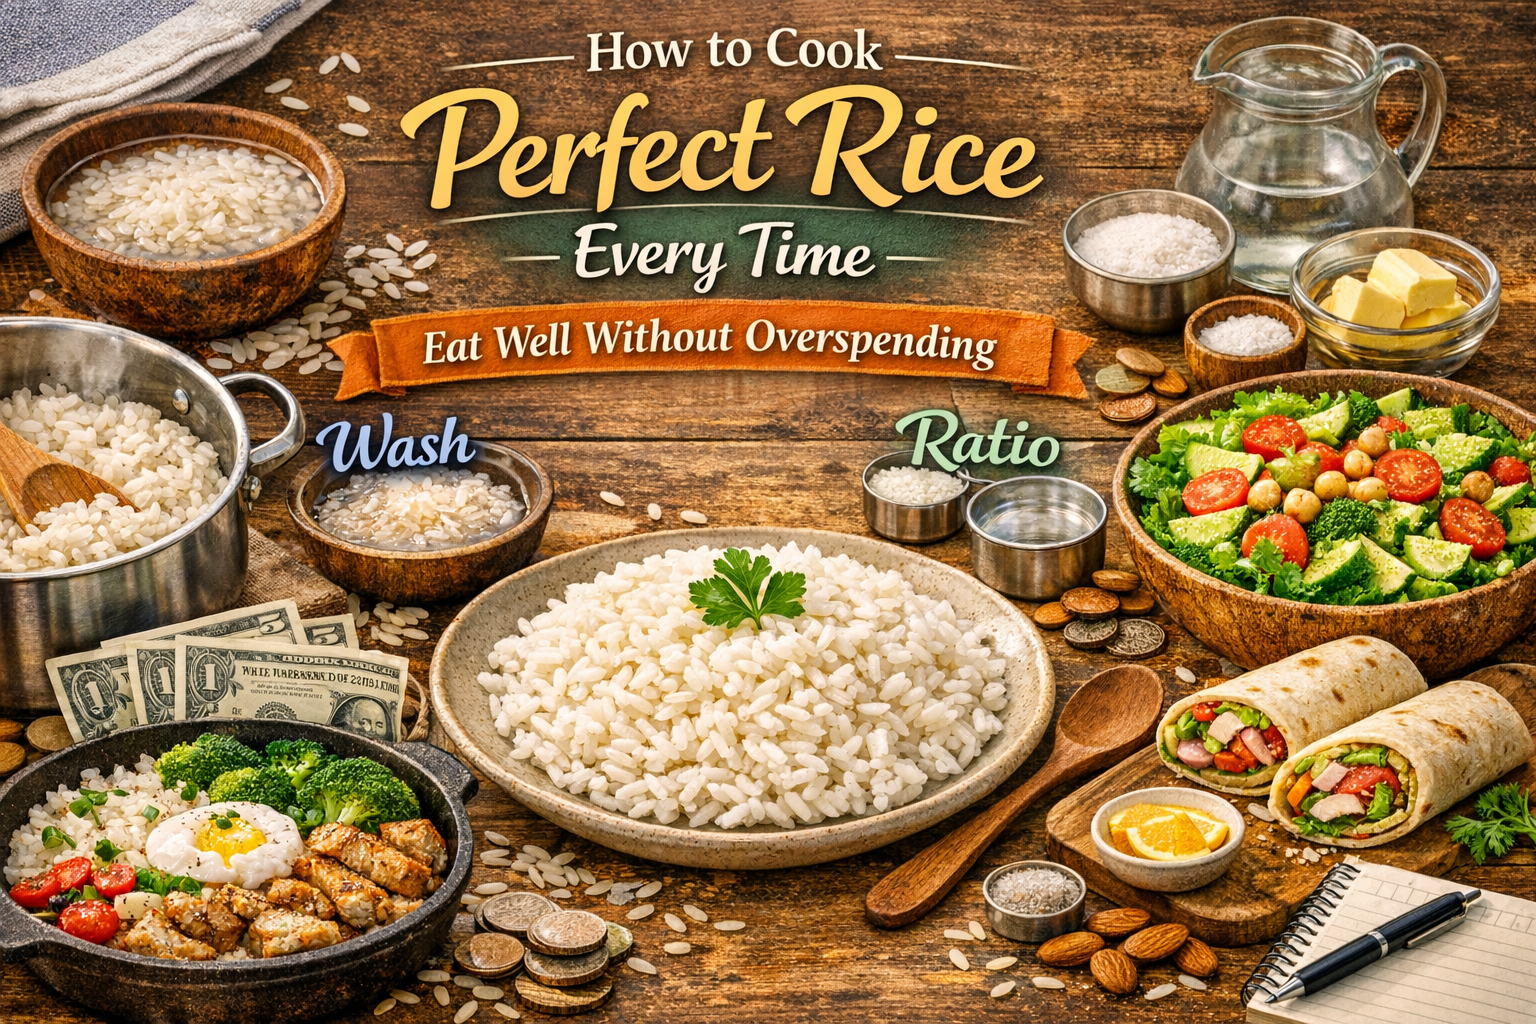
This article is going to change that. We’re going to go through everything — the science behind why rice behaves the way it does, the most common mistakes, the right technique, the right ratios, and a handful of practical tips that will make the process feel almost foolproof. By the end, you’ll know exactly how to cook rice that comes out right every single time, in about 30 minutes, without a rice cooker, without special equipment, and without stress.
Let’s get into it.
Why Rice Is Trickier Than It Looks (And Why That’s Not Your Fault)
Here’s the thing most cooking guides gloss over: rice is actually kind of complex. Not in a scary way — but in a way that explains why the same “boil water, add rice, wait” approach works sometimes and fails spectacularly other times.
The main issue is starch. Rice is full of it. And when starch gets wet and heated, it gelatinizes — meaning it absorbs water and swells. That’s what gives properly cooked rice its soft, tender texture. But if there’s too much free starch floating around (from not rinsing the rice), or too much water, or too much heat — everything goes wrong. You get that gluey, sticky, mushy result that nobody asked for.
On the other end of the spectrum, if there’s not enough water, or the heat was too high and the water evaporated before the rice could absorb it, you get crunchy, undercooked grains. Which is somehow even more disappointing, because the outside looks done but one bite tells a different story.
And here’s a point worth making that almost nobody mentions: different types of rice behave completely differently. Long-grain white rice, short-grain sushi rice, basmati, jasmine, brown rice — each one has its own personality, its own ideal water ratio, its own preferred cooking time. Treating them all exactly the same is one of the biggest reasons people struggle.
So before we even talk about technique, let’s talk about knowing what you’re working with.
Know Your Rice: A Quick Guide to the Most Common Types
You don’t need to memorize this whole list. Just know which type you usually cook and pay attention to those notes.
Long-Grain White Rice
This is the most common type — the one most people picture when they say “rice.” It’s neutral in flavor, doesn’t clump much, and produces fluffy, separated grains when cooked properly. Think of the rice you get at a Chinese restaurant or as a side dish at a barbecue. Standard water ratio: around 1:1.75 to 1:2 (1 cup rice to 1¾–2 cups water).
Basmati Rice
Basmati is the aromatic, slightly nutty long-grain rice used in Indian and Middle Eastern cooking. It has a wonderful fragrance and gets these beautiful long, fluffy grains when cooked right. Here’s the key thing with basmati: soak it first. Even 20–30 minutes of soaking makes a noticeable difference in texture. Water ratio: around 1:1.5.
Jasmine Rice
Jasmine is Thailand’s gift to dinner tables worldwide. It’s slightly stickier than basmati, has a gentle floral aroma, and pairs beautifully with Thai and Vietnamese dishes. It doesn’t need soaking but does benefit from rinsing. Water ratio: 1:1.5.
Short-Grain White Rice
This is the stickier stuff — the kind used for sushi, rice bowls, and a lot of Japanese and Korean dishes. It’s meant to be a bit sticky and cohesive. If you’re cooking this and it comes out clumped together, that’s actually correct. Cooking it the same way as long-grain rice will give you a dry, crumbly mess. Water ratio: 1:1.1 to 1:1.25.
Brown Rice
Brown rice is the whole grain version — more nutritious, chewier, with a nutty flavor. It also takes almost twice as long to cook as white rice and needs significantly more water. Don’t try to rush it. Water ratio: 1:2 to 1:2.5. Cooking time: 40–50 minutes.
For this article, we’ll focus primarily on long-grain white rice, since that’s what most people are cooking day to day — but we’ll note adjustments for other types where relevant.
The Biggest Mistakes People Make When Cooking Rice
Before we get to the right way, let’s name the wrong ways. Because chances are, at least one of these is what’s been tripping you up.
Mistake #1: Not Rinsing the Rice
This one is probably the most common. Unrinsed rice is coated in excess surface starch, and when that starch hits hot water, it makes everything gummy and sticky in a bad way. Rinsing removes that layer and gives you cleaner, fluffier results.
How to do it: put the rice in a bowl or fine-mesh strainer, run cold water over it, and swish it around. Do this 2–3 times until the water runs mostly clear. It takes 60 seconds and makes a real difference.
Mistake #2: Using Too Much Water
“More water = safer” is a natural instinct, but it’s wrong for rice. Too much water makes the grains bloated, soft, and mushy. The water ratio really matters, and it’s worth measuring instead of eyeballing it — at least until you’ve done it enough to develop an intuition.
Mistake #3: Lifting the Lid During Cooking
Every time you lift that lid, you release steam. And steam is doing a huge portion of the cooking work here. Opening the pot during cooking drops the temperature and disrupts the whole process. It’s one of those things that feels harmless but genuinely messes with the result.
Mistake #4: Stirring the Rice While It Cooks
This breaks down the grains and releases starch, leading to — you guessed it — mushy, sticky rice. Stir it once before bringing to a boil if you like, but once the lid goes on, leave it alone.
Mistake #5: Cooking on Too High a Heat
High heat is great for getting the water to a boil quickly, but once the rice is in, it needs a low, gentle simmer to cook properly. High heat evaporates the water before the rice can absorb it, which leads to crunchy grains with a burned bottom. Low and slow is the move.
Mistake #6: Skipping the Rest
This one surprises people. After the rice is done cooking, it needs to sit off the heat, covered, for about 5–10 minutes. During this time, the steam redistributes, the grains firm up slightly, and everything comes together. Skip this step and the texture will be off — even if everything else went perfectly.
How to Cook Perfect Rice Every Time: The Step-by-Step Method
Alright. Here’s the full process, laid out in a way that actually makes sense.
What you need:
- 1 cup long-grain white rice
- 1¾ cups cold water (or broth, if you want more flavor)
- ½ teaspoon salt (optional but recommended)
- A medium saucepan with a tight-fitting lid
Total time: About 25–30 minutes
Step 1: Rinse the Rice (2 Minutes)
Put your rice in a bowl or fine-mesh strainer. Run cold water over it and use your hand to gently swish the grains around. The water will look cloudy and milky at first — that’s the starch you’re washing off. Repeat 2–3 times until the water is mostly clear. Drain well.
Step 2: Combine Rice and Water in the Pan
Add the rinsed rice and measured water (1 cup rice to 1¾ cups water) to your saucepan. Add salt if using. Don’t turn on the heat yet — or if you do, start on medium. You want to bring this to a gentle boil, not a violent one.
Step 3: Bring to a Boil, Then Immediately Reduce Heat
This is the most critical transition. Bring the water to a boil over medium-high heat — you’ll see it start to bubble actively. The moment it boils, reduce the heat to the lowest setting your burner has. Then cover the pot with the lid.
And now — don’t touch it. Don’t lift the lid. Don’t stir. Don’t check. Just trust the process.
Step 4: Cook on Low for 18 Minutes
Set a timer for 18 minutes. That’s the sweet spot for long-grain white rice on most stoves. You should hear a very gentle simmer — just a quiet, low sound. If you hear aggressive bubbling or see steam escaping from under the lid, your heat is still too high. Nudge it down.
After 18 minutes, turn off the heat completely.
Step 5: Rest for 10 Minutes (Do Not Skip This)
Here’s where a lot of people go wrong at the very last second. With the lid still on and the heat off, let the rice sit undisturbed for 10 minutes. This is not optional. It’s part of the cooking process.
During these 10 minutes, the remaining moisture redistributes evenly through the grains, and the rice finishes cooking in its own steam. Skipping this step is like pulling a cake out of the oven and serving it immediately — the structure hasn’t set yet.
Step 6: Fluff with a Fork and Serve
After 10 minutes, remove the lid and use a fork (not a spoon — a fork) to gently fluff the rice. Use light, lifting motions from the bottom of the pan upward. Don’t mash or press down.
And there it is — perfect rice. Fluffy, tender, separated grains, every single time.
Adjustments for Other Rice Types
As promised, here are quick notes for when you’re not cooking plain long-grain white rice:
Basmati Rice
Soak in cold water for 20–30 minutes before cooking. Drain, then use a 1:1.5 water ratio. Cook for 15 minutes on low, rest for 10 minutes. The result: those gorgeous, elongated grains that don’t stick together.
Jasmine Rice
No soaking needed, but rinse well. Water ratio: 1:1.5. Cook for 15–17 minutes on low, rest for 10 minutes. It’ll be slightly stickier than long-grain, which is exactly what you want for Thai dishes.
Brown Rice
Rinse, then use a 1:2.25 water ratio. Bring to a boil, reduce to low, cook for 40–45 minutes, rest for 10 minutes. Brown rice requires patience. Don’t rush it.
Short-Grain/Sushi Rice
Rinse several times until the water runs clear — this one really needs it. Water ratio: 1:1.1. Cook for 15 minutes on low, rest for 10 minutes. For sushi rice specifically, you’ll also season it with rice vinegar, sugar, and salt after cooking.
The Water Ratio Cheat Sheet
Because this comes up constantly, here it is in plain terms:
| Rice Type | Water Ratio (per 1 cup rice) | Cook Time (low heat) |
|---|---|---|
| Long-grain white | 1¾ cups | 18 minutes |
| Basmati (soaked) | 1½ cups | 15 minutes |
| Jasmine | 1½ cups | 15–17 minutes |
| Short-grain/sushi | 1⅛ cups | 15 minutes |
| Brown rice | 2¼ cups | 40–45 minutes |
Keep this somewhere handy. Honestly, once you have the ratios memorized for your go-to rice, you’ll stop second-guessing yourself entirely.
Flavor Upgrades: Making Your Rice Taste Like a Restaurant Made It
One thing I want to mention, because plain rice done right is great — but seasoned rice done right is incredible.
Cook in Broth Instead of Water
This is the single easiest upgrade. Swap the water for chicken broth, vegetable broth, or beef broth, and the flavor goes from “blank canvas” to genuinely delicious. It adds depth and savoriness without any extra effort.
Toast the Rice First
Before adding water, add a tiny bit of butter or olive oil to the dry pan and toast the rinsed, drained rice for 2–3 minutes over medium heat, stirring constantly. The grains will turn slightly opaque and smell nutty. Then add your water as normal. The result is rice with a richer, more complex flavor — this is how a lot of pilaf-style dishes are made.
Add Aromatics to the Water
A bay leaf, a garlic clove, or a few slices of ginger added to the water before cooking infuse a subtle flavor into the rice. Remove them before serving. Simple but effective.
Finish with Butter and Salt
After fluffing the rice, add a small pat of butter and let it melt through the grains. Taste for salt. This is a tiny thing that makes a noticeable difference in how satisfying the rice tastes.
Common Problems and How to Fix Them
Still running into issues? Here’s a quick troubleshooting guide.
Rice is mushy and wet: Too much water, or heat was too high. Next time, reduce the water by ¼ cup and make sure the heat is truly on low once the lid goes on.
Rice is crunchy or undercooked: Not enough water, or the lid let too much steam escape. Check that your lid fits tightly. You can also add a couple tablespoons of water, replace the lid, and cook for another 5 minutes.
Bottom of the pot is burned: Heat was too high. This is a common stove issue — some burners run hotter than expected. Try using a heat diffuser, or put the pot on the smallest burner.
Rice is clumped and sticky: You may have stirred it during cooking, or not rinsed it enough. Also check if you accidentally used short-grain rice — it’s naturally stickier.
Everything looks right but it’s still kind of bland: This is a seasoning issue, not a texture issue. Cook in broth instead of water, and don’t skip the salt. Rice absorbs flavor while it cooks — if nothing went in, nothing comes out.
Does It Work Without a Rice Cooker?
Yes. Absolutely yes.
Rice cookers are convenient and take the guesswork out of timing, but they are not necessary for perfect rice. Millions of home cooks around the world make flawless rice on a plain stovetop every single day. The stovetop method we covered here works just as well — you just have to be a bit more attentive.
That said, if you cook rice very frequently — multiple times a week — and you find the stovetop approach frustrating, a rice cooker is a reasonable investment. They’re not expensive, and they genuinely do make the process more hands-off. But don’t feel like you need one to get good results. You don’t.
Is Rice Actually Healthy?
Since this blog focuses on health and everyday recipes, it’s worth addressing this directly.
White rice often gets a bad reputation in diet culture circles, and it’s worth pushing back on that a little. Yes, white rice is a refined grain, which means the bran and germ have been removed. It’s lower in fiber and certain nutrients compared to brown rice. That part is true.
But here’s the context that usually gets left out: white rice is eaten daily by billions of people in some of the healthiest populations in the world — particularly in Japan and Southeast Asia. It’s not inherently bad. It’s a carbohydrate source that provides energy, is easy to digest, and fits well into a balanced diet when paired with protein, vegetables, and healthy fats.
If you’re managing blood sugar closely or trying to increase your fiber intake, brown rice or other whole grains are worth prioritizing. But for most people eating a varied, balanced diet, white rice in normal portions is absolutely fine.
Na prática: don’t fear the rice. Learn to cook it well, eat it in balance with other nutritious foods, and stop letting food rules make something this simple stressful.
Conclusion: You’ve Got This
Let’s quickly recap what we covered, because there’s genuinely useful stuff in here that’s worth remembering.
Cooking perfect rice comes down to a handful of key principles: rinse it, use the right water ratio, bring it to a boil and then drop the heat immediately, keep the lid on, and let it rest before you serve it. That’s the whole method. No special tools, no secret tricks — just attention to a few details that most people skip.
Once you get the hang of it — and honestly, it usually clicks after the second or third time — it becomes one of those cooking skills you don’t think about anymore. You just do it. And it comes out right.
So give it a try tonight. Rinse your rice, measure your water, and trust the process. And when it comes out fluffy and perfect, come back here and let me know in the comments.
I’d love to hear: what’s been your biggest rice-cooking struggle? Mushy? Crunchy? That mysterious burned bottom? Share it below — no judgment, just real conversation. And if there’s something specific you’d like me to cover next — a particular recipe, a cooking technique, a health topic — drop it in the comments. This blog runs on your questions, and I read every single one.
Disclaimer: This article is for informational and educational purposes only. For personalized dietary advice, please consult a qualified nutritionist or healthcare professional.